Measuring Tips and Techniques for DIYers

When doing home improvement projects there are a lot of euphemisms that come with the territory. One that I’m sure we’ve all heard is “measure twice, cut once”. Great advice. It’s probably the single most important bit of knowledge that has saved many a DIYer from being bogged down in frustration. Below, we’ve included some measuring tips that can hopefully keep you from using another known euphemism, which is “caulk and paint can make a carpenter what he ain’t”.
Next to the hammer and screwdriver, the measuring tape is probably the third most common tool in the toolbox. Believe it or not, there is more going on with a measuring tape than many people realize. Let’s start with the hook. At the end of every measuring tape, is the metal hook. Many people think that it is loose because of overuse or that it is just wearing out. Truth is, the tip is designed to compress when placed against the wall for inside measurement, or to expand when hooked onto something for an outside measurement. This movement compensates for the thickness of the hook so that it does not skew your measurement. That is not to say that it cannot get worn out, however. Every once in a while, it is a good idea to check your tape measure in order to see if it remains true. To do this, take a measurement beginning with the first inch of the tape measure. For example, measure 10 inches from the edge of a table by placing the 1 inch mark on the edge of the table and making a mark at the 11 inch line. Next, measure normally placing the hook of the tape measure on the edge of the table. If all is well, the mark you had previously made should be exactly 10 inches from the edge.
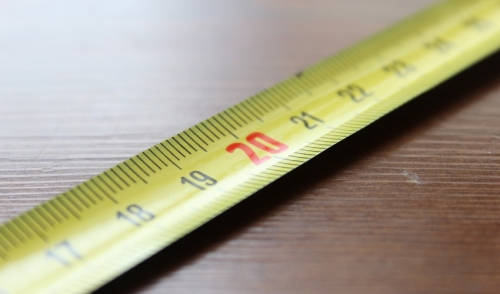
Additionally, when using a tape measure, take notice that the red markings at 16 inch intervals are a standard for typically spaced 16 inch studs. Keep in mind that this is meant to mean 16 inches on center, not the edge of the stud.
When using a tape measure for inside corners, many people simply put the end in one corner and roll the tape measure into the next. Because the tape measure doesn’t fit exactly into a corner, the exact measurement is often estimated. The best way to accomplish an accurate measurement is to place the end of the tape measure on one side, and measure out an appropriate distance (10 inches, for example) and make a mark. Measure from the other corner to the mark and add the previous measurement (the 10 inches) to get a total. A shortcut for this would be to have a premeasured block of wood, place it against the wall and measure up to that block, adding its thickness.
When marking with a tape measure, make sure the side of the tape is flat. Typically, tape measures are naturally cupped on the sides, which can make for an inaccurate transfer of measurement while making a mark. Give the tape measure a slight twist to flatten it when making the mark. Additionally, when making a mark, many carpenters use a V point for more accuracy. The tip of the V is the exact point of measurement, eliminating confusion. Use a square to draw a line through the V and mark the waste side with an X for more clarity. Also, be sure to keep your pencil as sharp as possible. The thinner the line, the more accurate the mark.
Some other measuring tips are:
- if you are marking handles for drawers, the best way to find the center is to use a straight edge and draw an X from the four corners.
- For some trim work, it is more accurate to just mark the piece of wood in place, rather than taking a measurement and transferring it.
- For shelving that has “keyhole” slots in the back, make a template by using a piece of paper, making sure the corners of the paper are sized to the corners of the shelving. While holding the paper over the keyholes, use the edge of a pencil tip, making wide, back-and-forth motions to transfer the outline of the hole onto the paper. You can now use that paper as a template for hanging your shelf.


Comments